Titanium Alloyのレイアウトについていろいろ試したメモ2-画像編
前回の続き。今度はラベルを画像にしてみた。とりあえずhorizontalとverticalの比較を。
<Alloy>
  <Window class="container">
    <View id="wrapper">
      <ImageView image="/images/tmp_image/150x150.png" />
      <ImageView image="/images/tmp_image/150x150.png" />
      <ImageView image="/images/tmp_image/150x150.png" />
    </View>
  </Window>
</Alloy>
"Window": {
  backgroundColor: "white"
},
"#wrapper": {
    backgroundColor: "red",
    height: "50%",
    layout: "vertical",
    width: "50%",
},
"Window": {
  backgroundColor: "white"
},
"#wrapper": {
    backgroundColor: "red",
    height: "50%",
    layout: "horizontal",
    width: "50%",
},
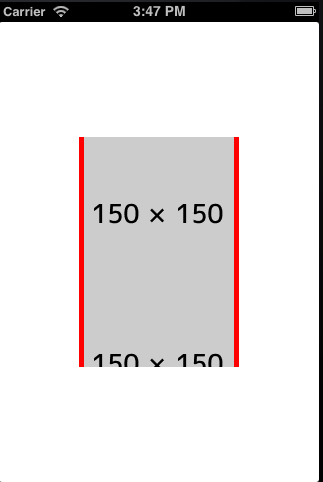
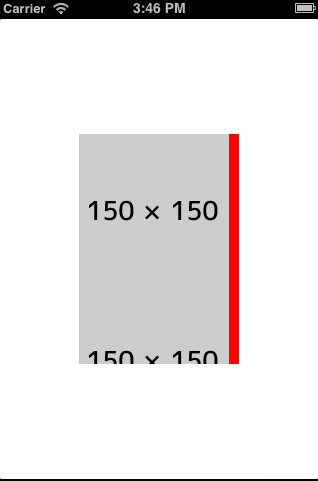
とこのとおり、横方向には、親要素にぶつかった時点で折り返され、縦方向は親要素以上のところはカットされる。
これを柔軟に表示しきりたいときは、ScrolleViewだったり、ListViewなんかを使うことになる。ということでListViewを使ってみる。
<Alloy>
  <Window class="container">
    <ListView id="listView" defaultItemTemplate="imageTemplateName" >
      <Templates>
        <ItemTemplate id="imageTemplateId" name="imageTemplateName" class="imageTemplateClass">
          <ImageView id="pic" bindId="pic" class="picClass"/>
        </ItemTemplate>
      </Templates>

      <ListSection id="imageSection">
        <ListItem template="imageTemplateName" pic:image="/images/tmp_image/150x150.png" />
      </ListSection>
    </ListView>
  </Window>
</Alloy>
"Window": {
  backgroundColor: "white"
},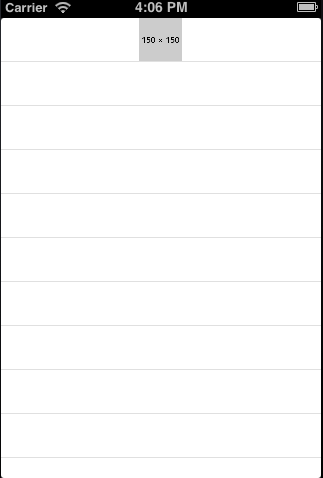
こんな感じになってしまう。
画像がListViewのどこかの幅にあわせて縮小表示されている。
画像をダラダラ〜っとリスト表示させるのなら、横幅ぴったりに合わせて表示させたい気がするのでそういう調整をしてみる。
まずはImageViewの親要素はどれなのか?というところを確認する。
<Alloy>
  <Window class="container">
    <ListView id="listView" defaultItemTemplate="imageTemplateName" >
      <Templates>
        <ItemTemplate id="imageTemplateId" name="imageTemplateName" class="imageTemplateClass">
          <ImageView id="pic" bindId="pic" class="picClass"/>
        </ItemTemplate>
      </Templates>

      <ListSection id="imageSection" headerTitle="title">
        <ListItem template="imageTemplateName" pic:image="/images/tmp_image/150x150.png" />
      </ListSection>
    </ListView>
  </Window>
</Alloy>
"Window": {
  backgroundColor: "white"
},
"ListView": {
    backgroundColor: "pink"
},
,"#imageTemplateId": {
    backgroundColor: "red"
},
"#imageSection": {
    backgroundColor: "blue"
},
"ImageView": {
    left: '0dp'
}
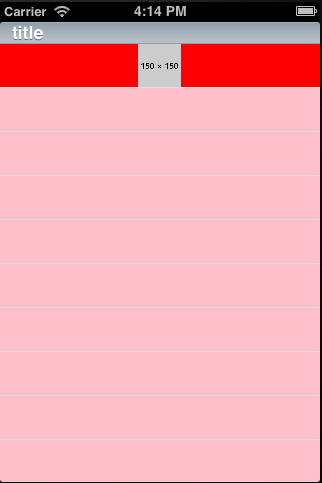
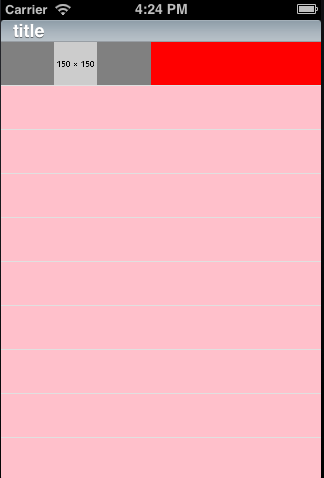
ListViewは想定通りかな。ImageViewの親はItemTemplateになるようだ。ListSectionは色指定は効かない。
ちなみにIDじゃなくてタグ指定でも同じ結果になった(あたりまえ)。今後はタグ指定で進めていく。
"Window": {
  backgroundColor: "white"
},
"ListView": {
    backgroundColor: "pink"
},
,"ItemTemplate": {
    backgroundColor: "red"
},
"ListSection": {
    backgroundColor: "blue"
},
"ImageView": {
}
とりあえず、左寄せとか効くのかな、というのが気になったのでImageViewにleftを入れてみる。
"Window": {
  backgroundColor: "white"
},
"ListView": {
    backgroundColor: "pink"
},
,"ItemTemplate": {
    backgroundColor: "red"
},
"ListSection": {
    backgroundColor: "blue"
},
"ImageView": {
    left: '0dp'
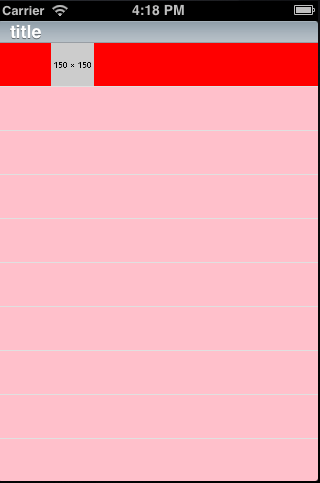
}何この謎のスキマ。ちなみにAndroidではぴったり左に寄せられていた。
ImageViewに背景色をつけてみた。
"Window": {
  backgroundColor: "white"
},
"ListView": {
    backgroundColor: "pink"
},
,"ItemTemplate": {
    backgroundColor: "red"
},
"ListSection": {
},
"ImageView": {
    backgroundColor: "gray",
    left: '0dp'
},
なるほど。ImageViewとしては画像の幅である150まで表示しているけど、画像本体はItemTemplateの縦幅にあわせた表示がされているわけですな。
そう考えると、Android(GalaxyS3)で表示できていたのは解像度の違いでうまく収まっていただけかな。
ということで、このItemTemplateの縦幅を柔軟に設定する方法を模索してみたが、どうやってもできない・・・。
と思ったらバグらしい。
https://jira.appcelerator.org/browse/TIMOB-13901
ちょっとこれが解決されないとListViewは使いにくいね。。

- 作者: 押見修造
- 出版社/メーカー: 双葉社
- 発売日: 2009/02/28
- メディア: コミック
- 購入: 4人 クリック: 46回
- この商品を含むブログ (25件) を見る
